
Idee creative
Pixel Art
#v12271
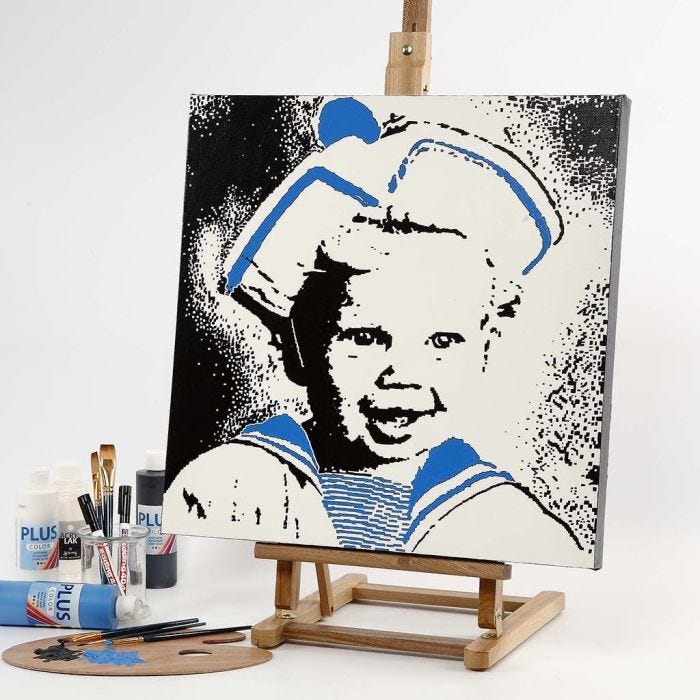
Questo fantastico dipinto è stato creato usando una foto trasferita su tela con un proiettore. Prima la foto è stata processata con il programma "Google Picasa". Abbiamo poi usato le penne e la pittura acrilica Plus Color.
#v12271
Come farlo
1.  Download Google Picasa. Edit the photo in Microsoft Office Picture Manager.
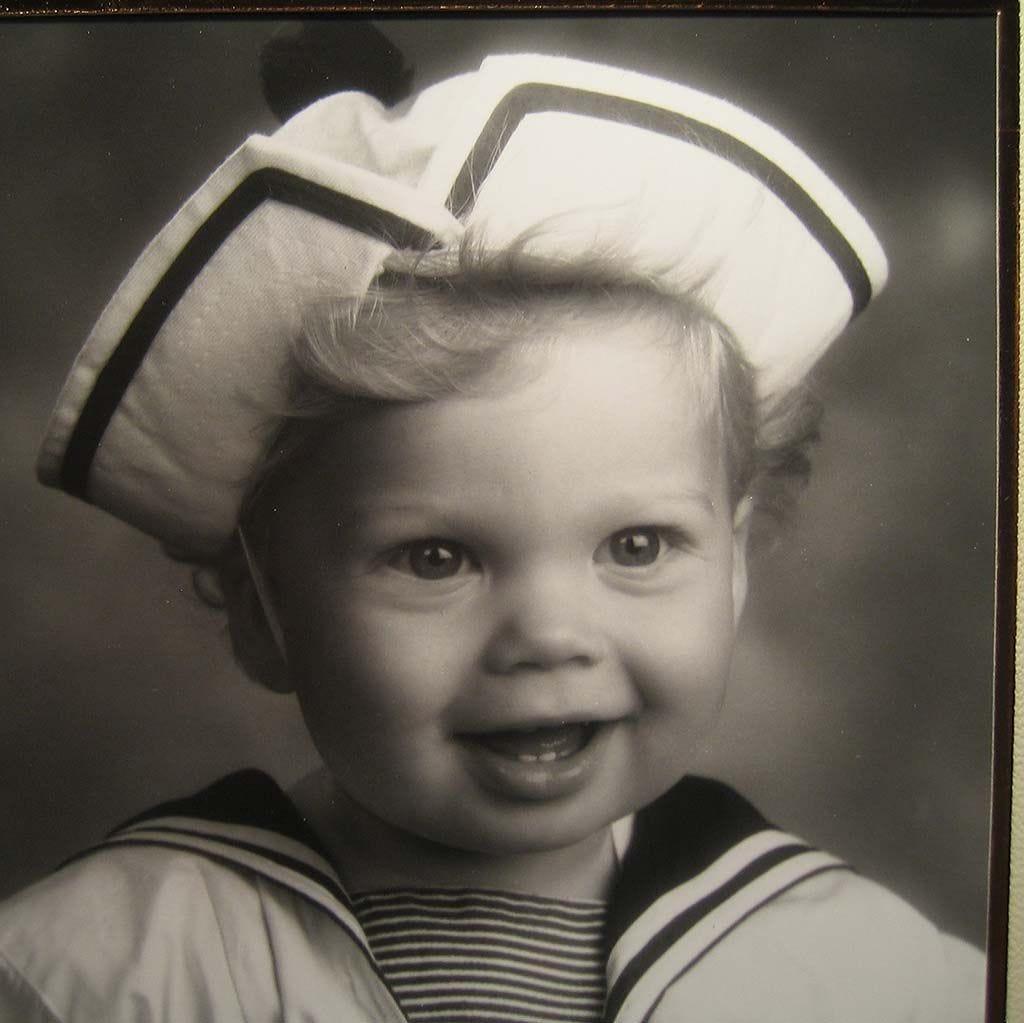
Standard photos may be scanned and saved on the computer as a jpg file).
1. Start by change the photo into black/white
2. Adapt the size depending on the quality of the photo – reduce by 20 to 50%.
3. Adjust the brightness and the contrast.
Download Google Picasa. Edit the photo in Microsoft Office Picture Manager.
Standard photos may be scanned and saved on the computer as a jpg file).
1. Start by change the photo into black/white
2. Adapt the size depending on the quality of the photo – reduce by 20 to 50%.
3. Adjust the brightness and the contrast.2. 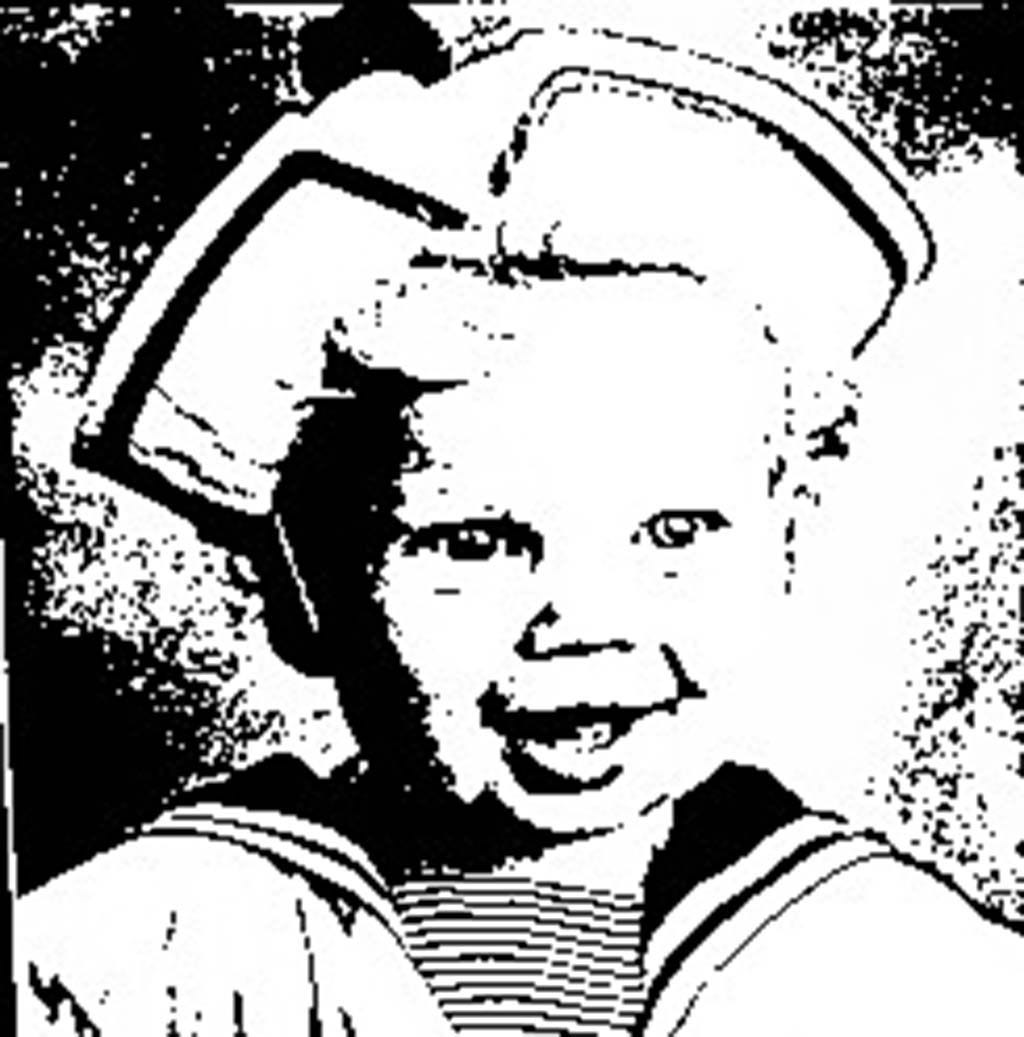 Open Picasa copy in the photo:
1. You may make the photo sharper in “Sharpens”
2. Open "Edit in Picnik"
3. Crop in “Effect”
4. Open “Sandbox effects”
5. Select “Adjustable threshold” and adjust the photo.
6. You may finish using the adjustment “Hardlight”
Save the finished photo in Picasa and print it out.
Open Picasa copy in the photo:
1. You may make the photo sharper in “Sharpens”
2. Open "Edit in Picnik"
3. Crop in “Effect”
4. Open “Sandbox effects”
5. Select “Adjustable threshold” and adjust the photo.
6. You may finish using the adjustment “Hardlight”
Save the finished photo in Picasa and print it out.3. 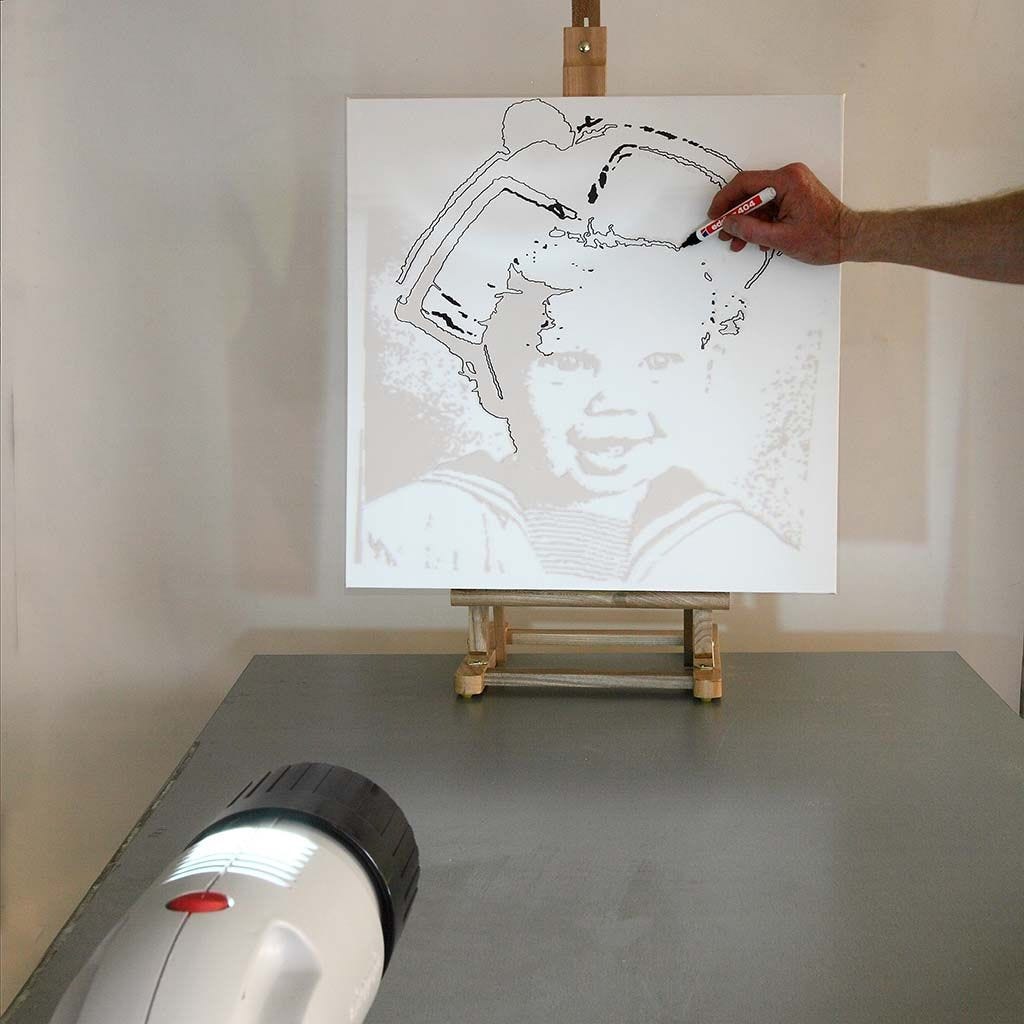 Paint the entire canvas white and let it dry.
Using a projector, transfer the photo to the canvas using a pencil or a marker pen.
First draw the edge or the outline with a marker pen.
Paint the entire canvas white and let it dry.
Using a projector, transfer the photo to the canvas using a pencil or a marker pen.
First draw the edge or the outline with a marker pen.
Paint the entire canvas white and let it dry.
Using a projector, transfer the photo to the canvas using a pencil or a marker pen.
First draw the edge or the outline with a marker pen.4. 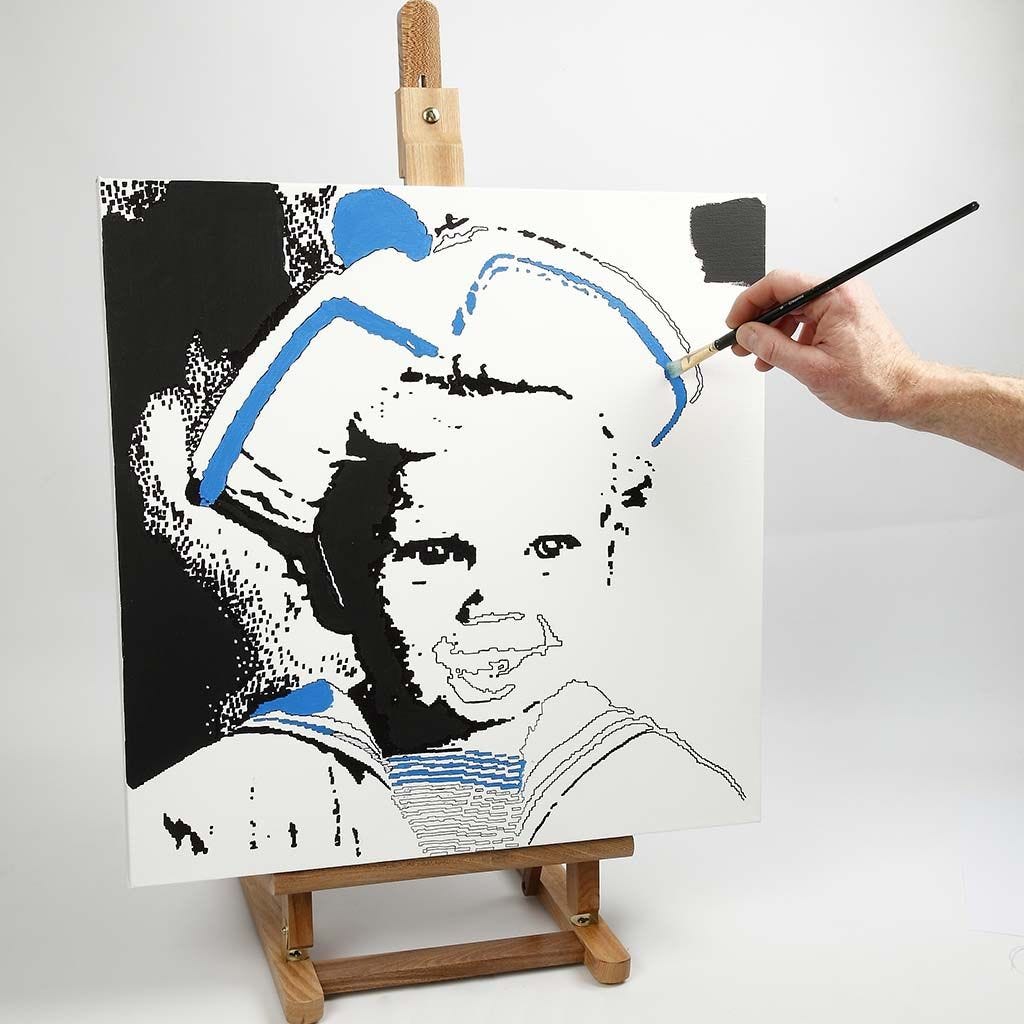 Then paint the rest using a brush and Plus Color. Be especially thorough with the eyes, the mouth and the nose.
You may paint part of the image using a different colour for contrast.
Finish with minimum two coats of mat acrylic lacquer. The first coat of lacquer must be completely dry before applying the second coat.
Then paint the rest using a brush and Plus Color. Be especially thorough with the eyes, the mouth and the nose.
You may paint part of the image using a different colour for contrast.
Finish with minimum two coats of mat acrylic lacquer. The first coat of lacquer must be completely dry before applying the second coat.Vai anche ad esplorare
